Houseplants have long been a source of joy and tranquility in our homes. They bring a touch of nature indoors, purify the air, and add a pop of color to our living spaces. One such plant that stands out with its vibrant and large - sized flowers is the amaryllis. Whether you've received an amaryllis bulb as a holiday gift or decided to spoil yourself, learning how to plant it in a pot can lead to a spectacular display of colorful blooms.
First and foremost, let's talk about choosing the right pot. The pot you select for your amaryllis should be just the right size. It should be large enough to accommodate the bulb with about an inch or two of space around the sides. A pot that is too large can lead to over - watering issues, as the excess soil will hold more moisture than the bulb needs. On the other hand, a pot that is too small will restrict the growth of the roots and may prevent the plant from reaching its full potential. Clay or ceramic pots are great choices as they are porous and allow for better air circulation around the roots.
Next, prepare the potting mix. Amaryllis bulbs thrive in a well - draining soil mix. You can create your own mix by combining equal parts of peat moss, perlite, and potting soil. This combination provides the right balance of moisture retention and drainage. Fill the pot about one - third full with the potting mix. Gently place the amaryllis bulb on top of the soil, making sure the pointed end is facing upwards. The bulb should be planted so that about one - third to one - half of it is above the soil surface. This allows the bulb to receive enough sunlight and air for proper growth.
Once the bulb is in place, carefully add more potting mix around it, gently pressing the soil to secure the bulb. After planting, give the bulb a good watering. Water it thoroughly until water drains out of the bottom of the pot. However, be careful not to over - water. Amaryllis bulbs are prone to rot if they sit in waterlogged soil for too long. After the initial watering, wait until the top inch of soil is dry before watering again.
Now, let's discuss the ideal growing conditions. Amaryllis plants love bright, indirect sunlight. Place your potted amaryllis near a window where it can receive plenty of light, but avoid direct sunlight, especially during the hottest part of the day. Direct sunlight can scorch the leaves and flowers. The temperature also plays a crucial role in the growth of amaryllis. They prefer a temperature range between 60 - 75 degrees Fahrenheit (15 - 24 degrees Celsius). Keep the plant away from cold drafts and heat sources such as radiators or vents.
As the amaryllis grows, you may need to provide some support. Once the flower stalk starts to emerge, it can become top - heavy. You can use a bamboo stake or a plant support ring to keep the stalk upright. This will prevent the stalk from bending or breaking under the weight of the flowers.
After the amaryllis has finished blooming, the care routine changes slightly. Cut off the spent flower stalk at the base, but leave the leaves intact. The leaves are essential for photosynthesis, which helps the bulb store energy for the next blooming cycle. Continue to water and fertilize the plant regularly. You can use a balanced, water - soluble fertilizer every two to three weeks during the growing season. In the fall, as the days get shorter and cooler, the amaryllis will start to go dormant. Reduce watering and stop fertilizing.
To encourage the amaryllis to bloom again the following year, you can force it into dormancy. This involves placing the potted bulb in a cool, dark place for about 8 - 12 weeks. A basement or a garage can be suitable locations. During this dormancy period, the bulb will rest and prepare for the next growth cycle. After the dormancy period, bring the bulb back into a warm, bright location and resume watering and fertilizing. With proper care, your amaryllis will reward you with another beautiful display of flowers.
In conclusion, planting and growing amaryllis in a pot is a rewarding experience. It allows you to enjoy the beauty of these stunning flowers right in your own home. By following these steps for choosing the right pot, preparing the soil, providing the ideal growing conditions, and caring for the plant throughout its life cycle, you can ensure that your amaryllis thrives and blooms year after year. So, go ahead and give it a try. Transform your living space with the colorful and elegant amaryllis flowers.
Unleashing the Floral Magic of Snowball Hydrangeas
Unleashing the Floral Magic of Snowball Hydrangeas
Unveiling the Secrets of Cultivating Carolina Allspice
Unveiling the Secrets of Cultivating Carolina Allspice
The Art of Planting Bare Root Trees: A Comprehensive Guide
The Art of Planting Bare Root Trees: A Comprehensive Guide
The Enchanting Allure of White - Flowered Trees for Your Front Yard
The Enchanting Allure of White - Flowered Trees for Your Front Yard
Transform Your Home with Succulent Wall Art from an Old Picture Frame
Transform Your Home with Succulent Wall Art from an Old Picture Frame
Transforming Broken Pots into Enchanting Fairy Gardens
Transforming Broken Pots into Enchanting Fairy Gardens
Unleash the Beauty of Dahlias in Pots This Summer
Unleash the Beauty of Dahlias in Pots This Summer
Transform Your Shady Yard with Caladium Container Magic
Transform Your Shady Yard with Caladium Container Magic
Unleash Your Creativity with DIY Concrete Planters
Unleash Your Creativity with DIY Concrete Planters
The Secret to Thriving Jade Plants: Minimal Effort, Maximum Results
The Secret to Thriving Jade Plants: Minimal Effort, Maximum Results
Unveiling the Secrets of Thriving Houseplants: A Two - Month Journey
Unveiling the Secrets of Thriving Houseplants: A Two - Month Journey
The Ideal Starter Plant for Your Indoor Oasis
The Ideal Starter Plant for Your Indoor Oasis
Transform Tiny Outdoor Spaces with a DIY Container Pond
Transform Tiny Outdoor Spaces with a DIY Container Pond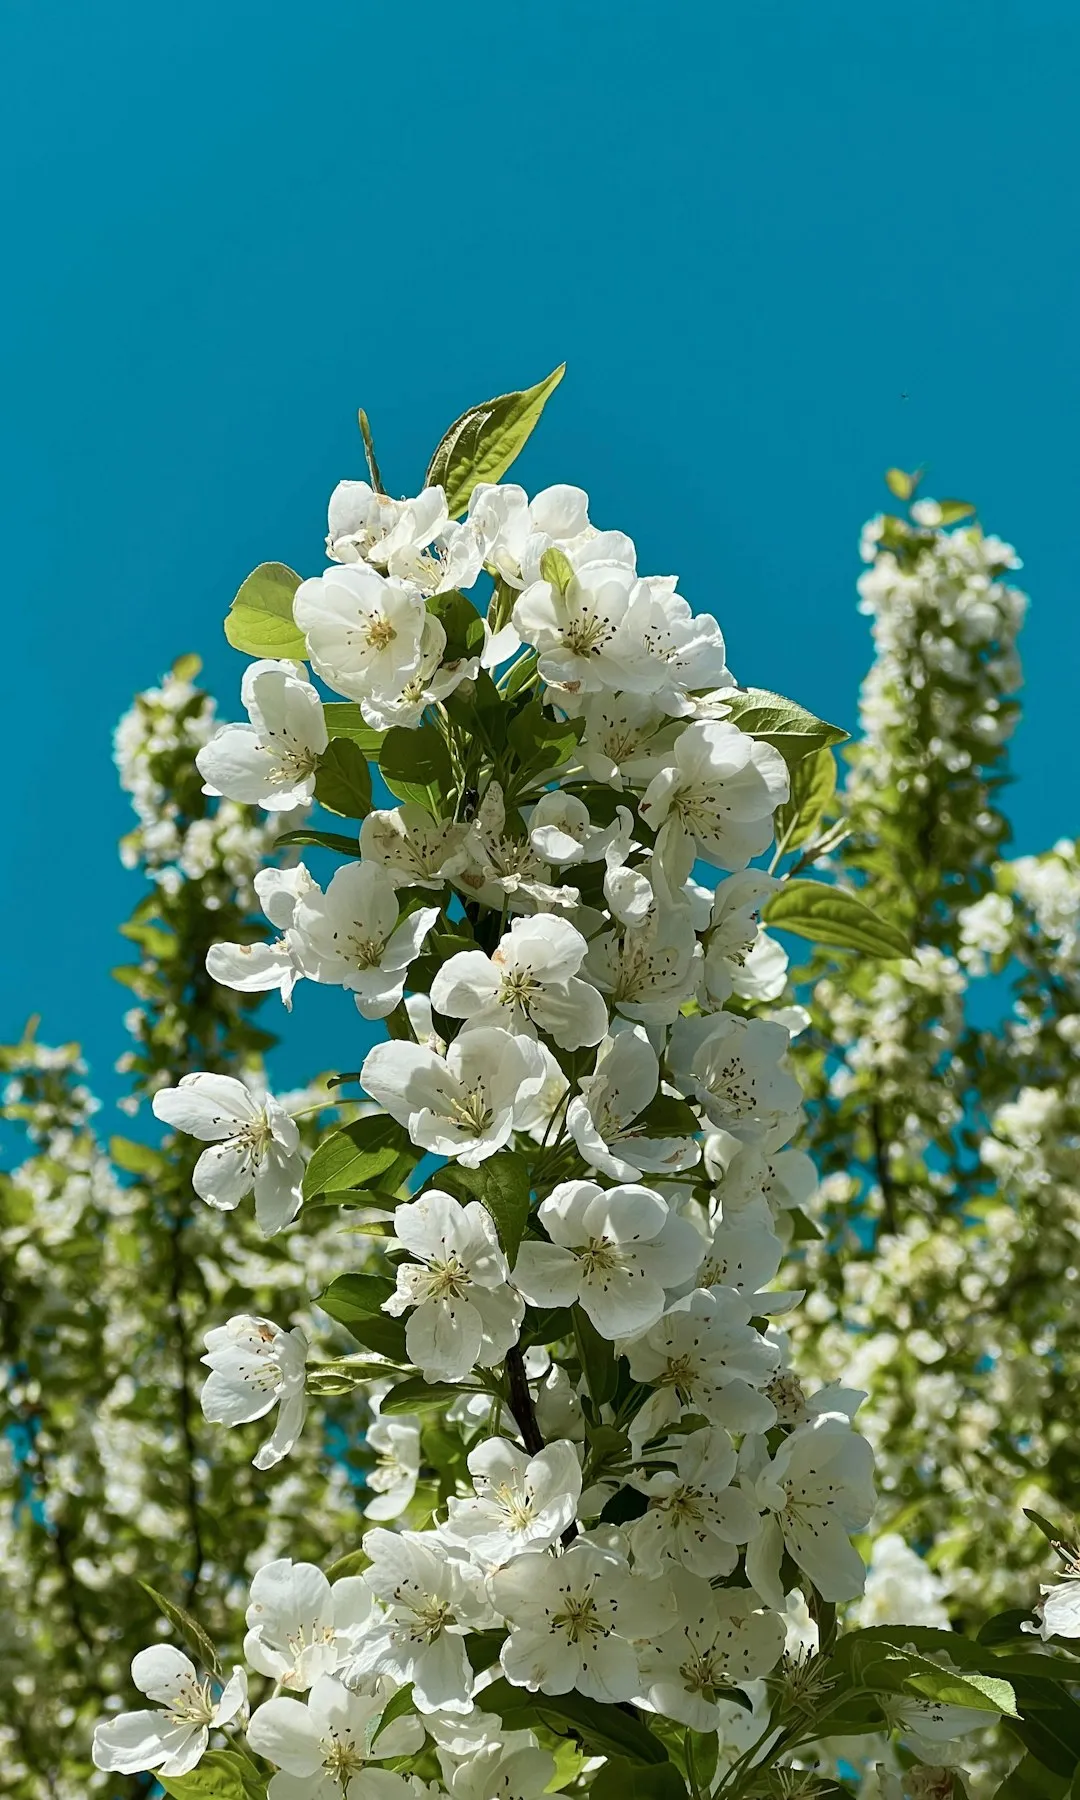
The Gravel Guide: Avoiding Common Pitfalls in Landscape Design
The Gravel Guide: Avoiding Common Pitfalls in Landscape Design
Summer's Floral Magic: Transforming Your Garden
Summer's Floral Magic: Transforming Your Garden
Transform Your Mailbox into a Garden Gem
Transform Your Mailbox into a Garden Gem
Transform Your Backyard with a Storm - Catching Oasis
Transform Your Backyard with a Storm - Catching Oasis
The Surprising Truth About Weed - Control in Vegetable Gardens
The Surprising Truth About Weed - Control in Vegetable Gardens
Conquer Your Garden's Invaders: Expert Solutions
Conquer Your Garden's Invaders: Expert Solutions
Reviving Your Hibiscus: Solving the Mystery of Yellow Leaves
Reviving Your Hibiscus: Solving the Mystery of Yellow Leaves